
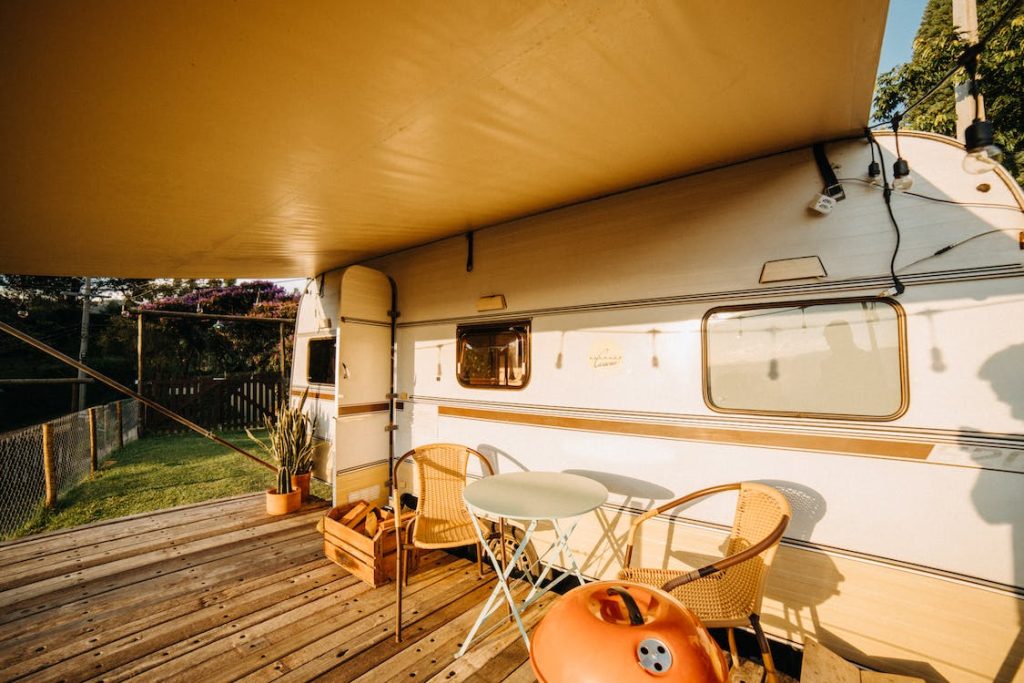
Leaking caravan? Rather than calling in a professional, a small leak can often be fixed quickly and easily with caravan sealant. It will, without a doubt, save you money!
Today we cover the basics of caravan sealants and how best to use them.
It’s a sad fact that rotting wooden frames, metal screws and joins corroding are all a part of caravanning. This can all leave you with a long, expensive list of repairs – so it’s something you want to try and avoid.
It’s always a good idea to regularly inspect your caravan, looking out for any damage to the seals.
This way if you do find any perished sealant – you can repair it before any potential leaks turn into ingress issues.
Locating The Leak
The first step in successfully repairing any caravan leaks is to determine where the water is coming from. Leaky windows are easy to spot, but leaky roofs are more difficult to detect. Because of its construction or because it isn’t parked on level ground, a caravan’s roof isn’t always perfectly horizontal.
As a result, a caravan roof leak frequently manifests itself as a trickle of water far away from the actual source. Also, when it comes to the source, even a small exposed screw hole can be the culprit. Finding a tiny breach like this after your caravan has had time to dry out can be difficult.
From the inside of your caravan, you can trace relatively obvious leaks right up to their source because they’ll have left some tell-tale signs along the walls or ceiling. Minor leaks must be tracked down from the outside.
Any valuables or expensive fixtures in your caravan should be removed or securely covered first. To get to the caravan’s roof, use a sturdy ladder and a spirit level to figure out which way the roof slopes.
Begin by squirting or pouring small amounts of water on the roof, and have someone alert you when the water gets into the caravan.
Knowing Which Sealant To Use
Choosing the right sealant for the job is an important part of successfully sealing any leaks in your caravan. The effectiveness of the sealing job and the duration for which the sealant will remain effective are two parameters to consider when applying the sealant to a point of leakage.
Aside from that, secondary factors like your budget can play a role. Let’s take a look at some of the most common sealants and what they can do for your leaking caravan:
Butyl mastic sealants, also known as caulking compounds, have long been used to repair leaks. These sealants are simple, inexpensive, and paintable, and they work well in short-term applications.
When exposed to air, the sealant’s outer layer hardens, protecting the application area from water and dust.
Caulking compounds, on the other hand, can dry out and crack over time, allowing water to seep back in.
 This trick will make you a sealant master!
Silicone sealants are the most widely used leak-fixing solution on the planet. Silicone sealants are a significant improvement over caulking compounds in terms of strength and elasticity, allowing you to keep your leaks sealed for much longer.
However, it is critical that you select the appropriate ‘cure.’ Acetic cure silicone sealants are antifungal and ideal for ceramic and glass applications in the interior. Use a neutral cure variant for exterior repairs that won’t corrode your caravan’s aluminium body.
Geocel MSCL Marine Silicone Rubber Sealant, Clear

- Sealing around hatches and port holes
- Creating watertight joints throughout
- Unaffected by immersion in salt or fresh water
- Excellent long-term durability
You Might Be Interested In Thetford Caravan Cookers: How To Fix Common Faults
Polyurethane sealants, the most recent addition to the caravan sealant family, provide the highest level of protection and durability. Their growing popularity could also be attributed to the fact that they work well with fibreglass panels, which are used in the majority of modern caravans.
PU sealants, unlike silicone sealants, are UV resistant and can be sanded and painted over.
Leak Fixing Tips
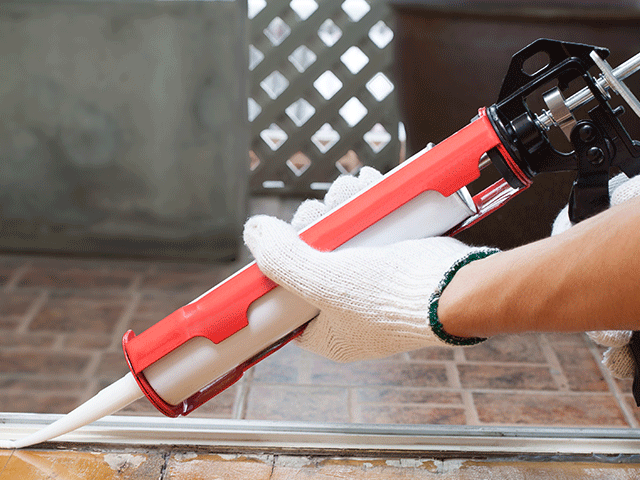
- Sticking to a few basic rules is just as important as choosing the right sealant. Always make sure you remove all of the old caulk or sealant from the affected area.
- You can do this with a plastic scraper, which can be found at any hardware store.
- After that, clean the area and make sure there is no dust, debris, or moisture on the surfaces. Allowing the sealant to dry completely before painting over it is another important step.
- Finally, spray the area with water after you’ve finished ensuring that the leak is indeed sealed.
And that’s it. You’re all set to head out again for a fresh round of adventures in your newly sealed (and completely dry) caravan!
DISCLAIMER* Please note that this advice is general in nature. We strongly recommend consulting the product manual and, where relevant, a professional installer.